Astrophotography & Capturing the Northern Lights
by Jared Anderson & Taffin Evans
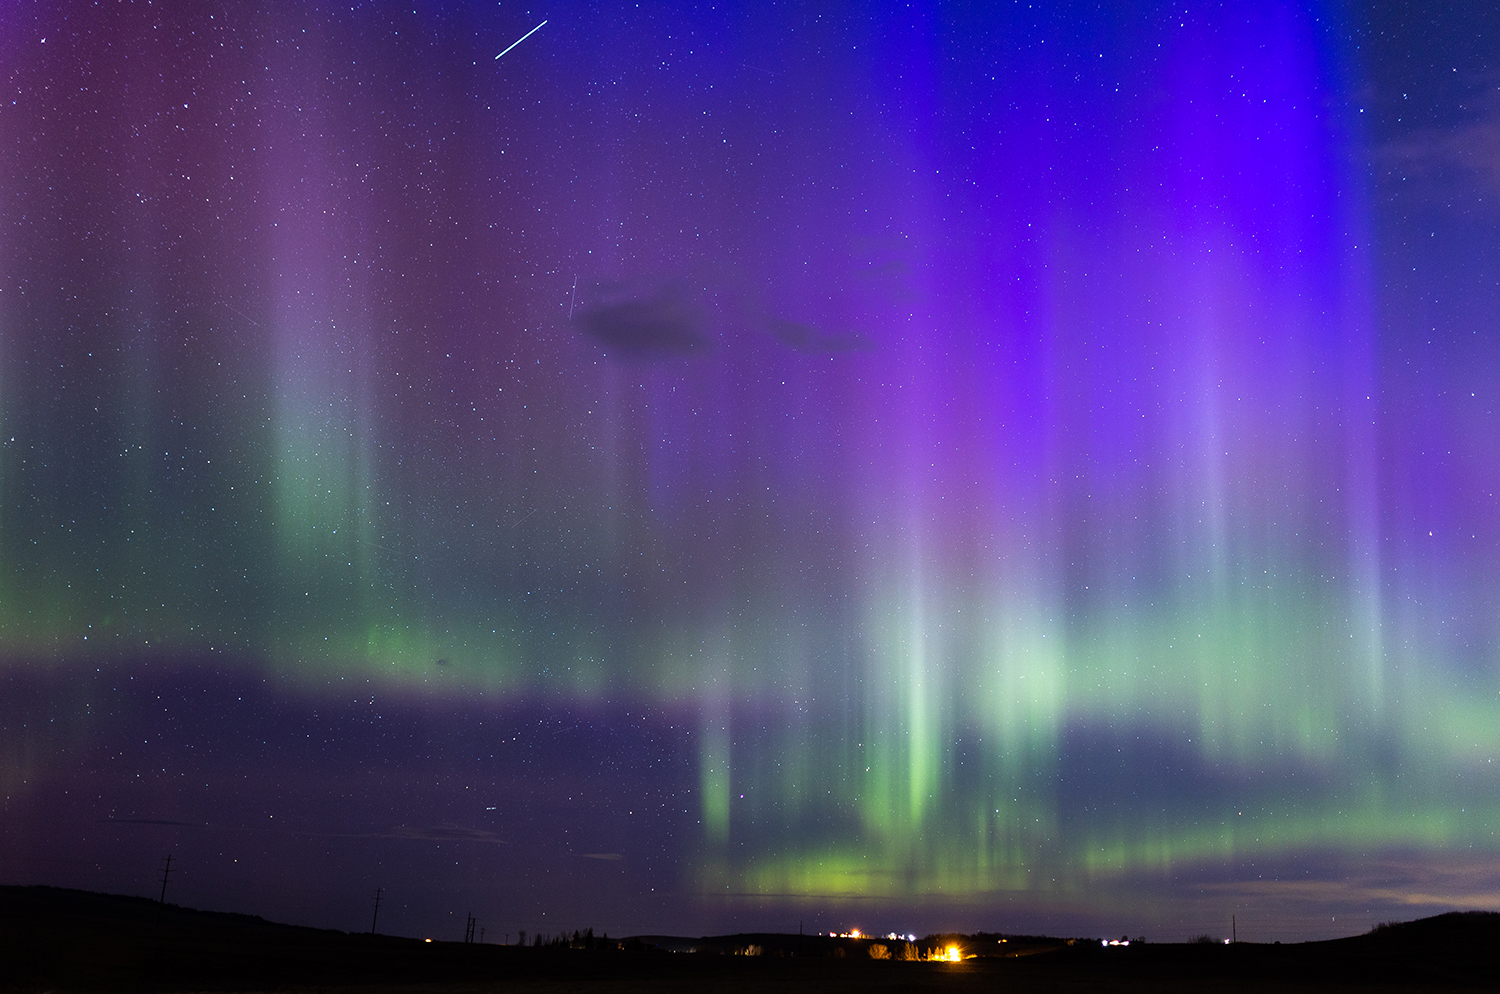
Water Valley, Alberta
What are the Northern Lights?
The Northern Lights, or the Aurora Borealis (Aurora Australis in the southern hemisphere), is a natural phenomenon that appears across the sky in patterns of waves, rays, spirals and flickers (Aurora, 2023).
This is caused by collisions between electrically charged particles from the sun entering the earth’s atmosphere, also known as a solar event (Northern Lights Centre, n.d.).
The different colours of the Aurora are caused by different types of particles colliding. The colours can range from red, yellow, green, blue and purple, but the most common are pale green and pink (Northern Lights Centre, n.d.).
Northern Lights Colours
Green: Most commonly seen. The green appears when the charged particles collide with oxygen molecules.
Pink & dark red: Sometimes you can see these colours on the edge of the Aurora. This appears when the charged particles collide with nitrogen molecules.
Red: The red is usually higher in the atmosphere–usually at altitudes of 300 to 400km, and this appears when the charged particles collide with oxygen molecules.
Blue & purple: Typically these colours are harder to see to the naked eye against the dark sky, and these appear when the charged particles collide with hydrogen and helium molecules. (Canadian Space Agency, 2022).
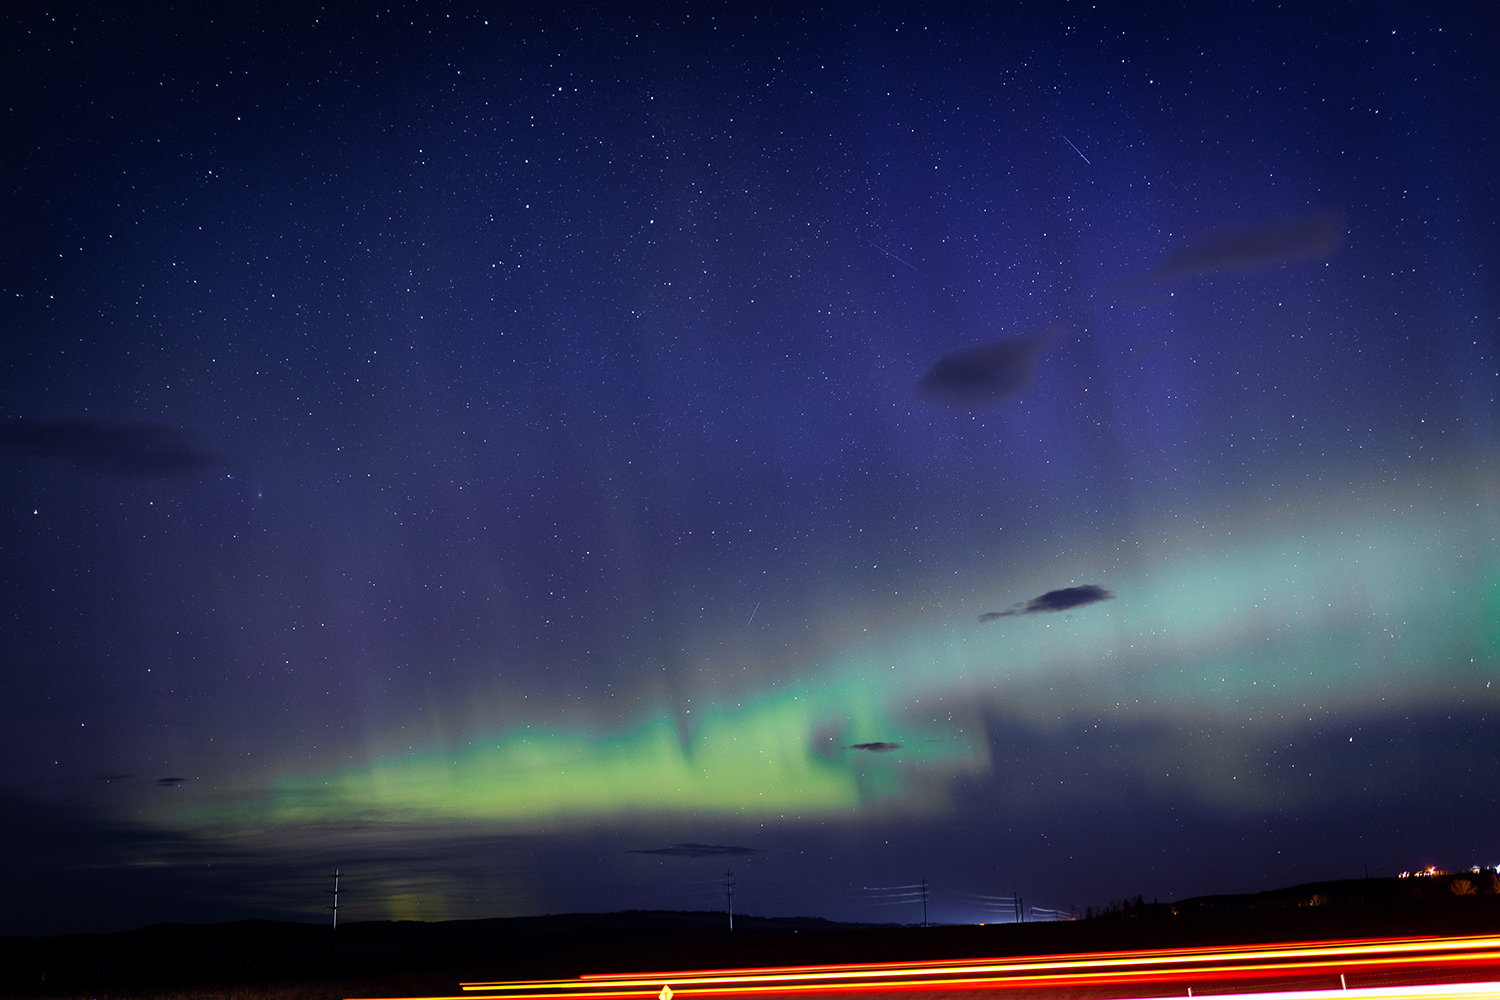
Cochrane, Alberta
How to Find the Northern Lights?
If you live in a city with a lot of light pollution, the first thing you’ll need to do is find a dark place with little to no other light sources. Often times country roads or in the mountains (depending on the strength of the show!) are good places to start.
Another thing you’ll need to be conscious of is the sky conditions–cloudy skies aren’t going to make for a good night to go Aurora chasing!
The K-index and the G-scale are also something you’ll want to be familiar with. The K-index ranges from 0–9, and the higher the number, typically, the better the storm. However, you’ll also need to understand the G-scale which is the level of global magnetic activity ranging from 1-5. G1 = K5, G2 = K6, etc. The K-index is also not a current forecast, but the data from the last three hours (K-index, 2023).
The Bz value of the interplanetary magnetic field (IMF) is also something to understand. The Bz needs to be as low as possible, or negative, to have a good storm. If you have a southward IMF and a negative Bz, or heliospheric magnetic field, the chances are good to see the Aurora because of how the particles collide in the atmosphere (Space Weather Live, n.d.).
Using the spaceweatherlive.com app is a great way to help predict if the Aurora show will be a good one, but you need to be able to understand the charts.
How to Photograph the Northern Lights?
1) Find a dark location: As we mentioned above, you want to make sure that you’re somewhere dark and away from any noise pollution. Be cautious of not trespassing and safety, however, when looking for places to go!
2) Use a tripod: Make sure you have a steady tripod to set your camera up on. The tripod will make sure there is no movement when the camera is taking the picture and allows you to get those crisp shots!
3) Use manual focus: Switch to manual focus and use the infinity function to focus on a star. You can zoom in on your screen in order to make sure your focus is set.
4) Have extra memory cards: Make sure you have lots of memory cards with you. You want to have lots of opportunities to get all the snaps, and this way you can practice to make sure you’re focusing properly too!
5) And extra batteries handy: Again, like having extra memory cards, you want to make sure you have extra batteries. It can get cold over night, even during the summer, so having lots of charged backup batteries will save the stress if you’re catching a good show.
6) Pick the right lens: The lens you choose will affect how much you get in one shot. You’ll want to pick your widest angle lens to photograph the Aurora. We normally use our 24-70mm on the 24mm setting, but we also use our 35mm lens too.
7) Lower aperture is better: In addition to picking a wide angle lens, you want to make sure that your aperture (or your F-stop) is as low as possible. Our 24-70mm lens goes down to F2.8, but our 35mm lens can go down to F1.4.
8) ISO settings: The ISO settings will influence the amount of light let into the lens. We typically run our ISO between 1,000 and 3,200 to capture the Northern Lights. The higher your ISO, the more noise your camera will capture, so be mindful to not increase it too much!
9) Long exposure time: You’ll want to make sure that your exposure is set anywhere between 2-30 seconds. You want it to be long enough to let light in, but not long enough that you start to get star trails.
10) Have fun and practice: Seeing the Aurora is one of the most beautiful natural phenomenon’s we’ve had the pleasure of seeing! We always make sure to take a few moments away from the camera and actually enjoy the show–especially if it’s strong enough to see with the naked eye.
Don't Forget!
- Any lights around where you’re taking photos (car headlights, headlamps, flashlights, etc.) will affect both the photo and viewing experience.
- Use a remote trigger/phone app to take the photos–this helps reduce the movement of pressing the shutter on the camera.
- Don’t trespass on people’s properties. Be mindful if there are other Aurora chasers around you (especially with lights).
Cochrane, Alberta
The Northern Lights are really special to us. I’ve (Taffin) only ever seen them when I’ve been with Jared.
We’ve lived in three houses together, and we’ve been lucky enough to see the Aurora at all three places!
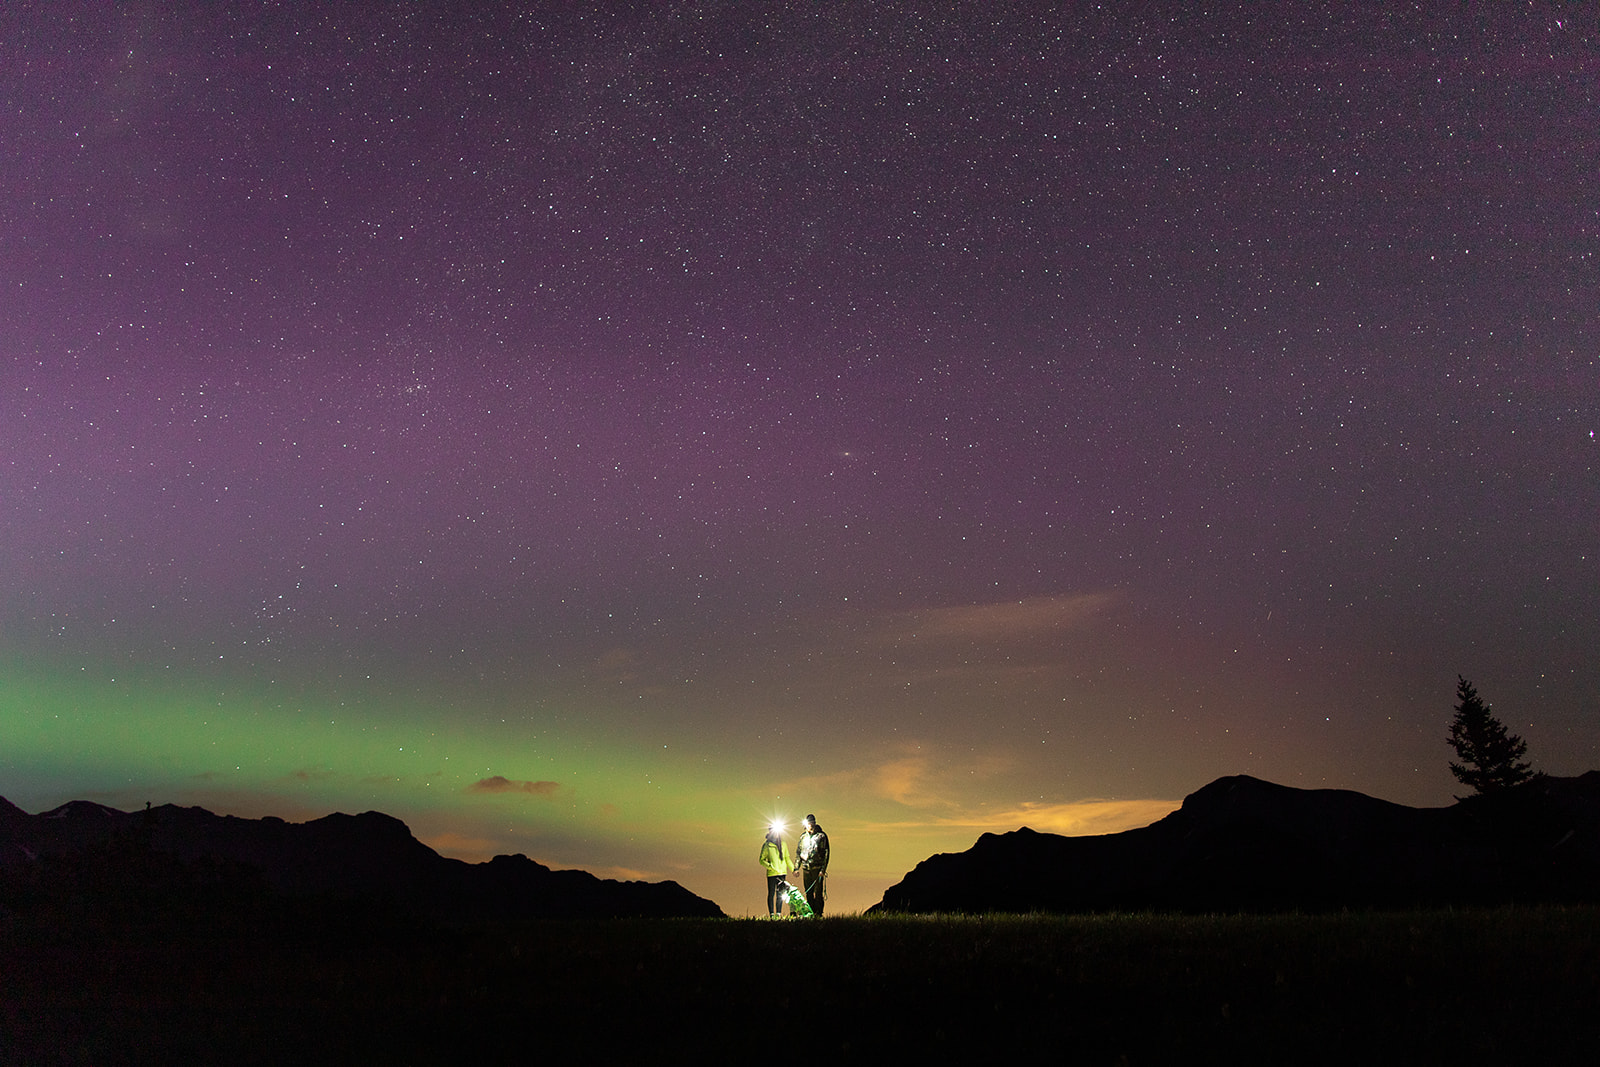
Photo by Willow & Wolf Weddings, Kananaskis, Alberta
We were blessed with catching the Aurora on the night of our elopement. Our photographers managed to get some snaps of us with it!
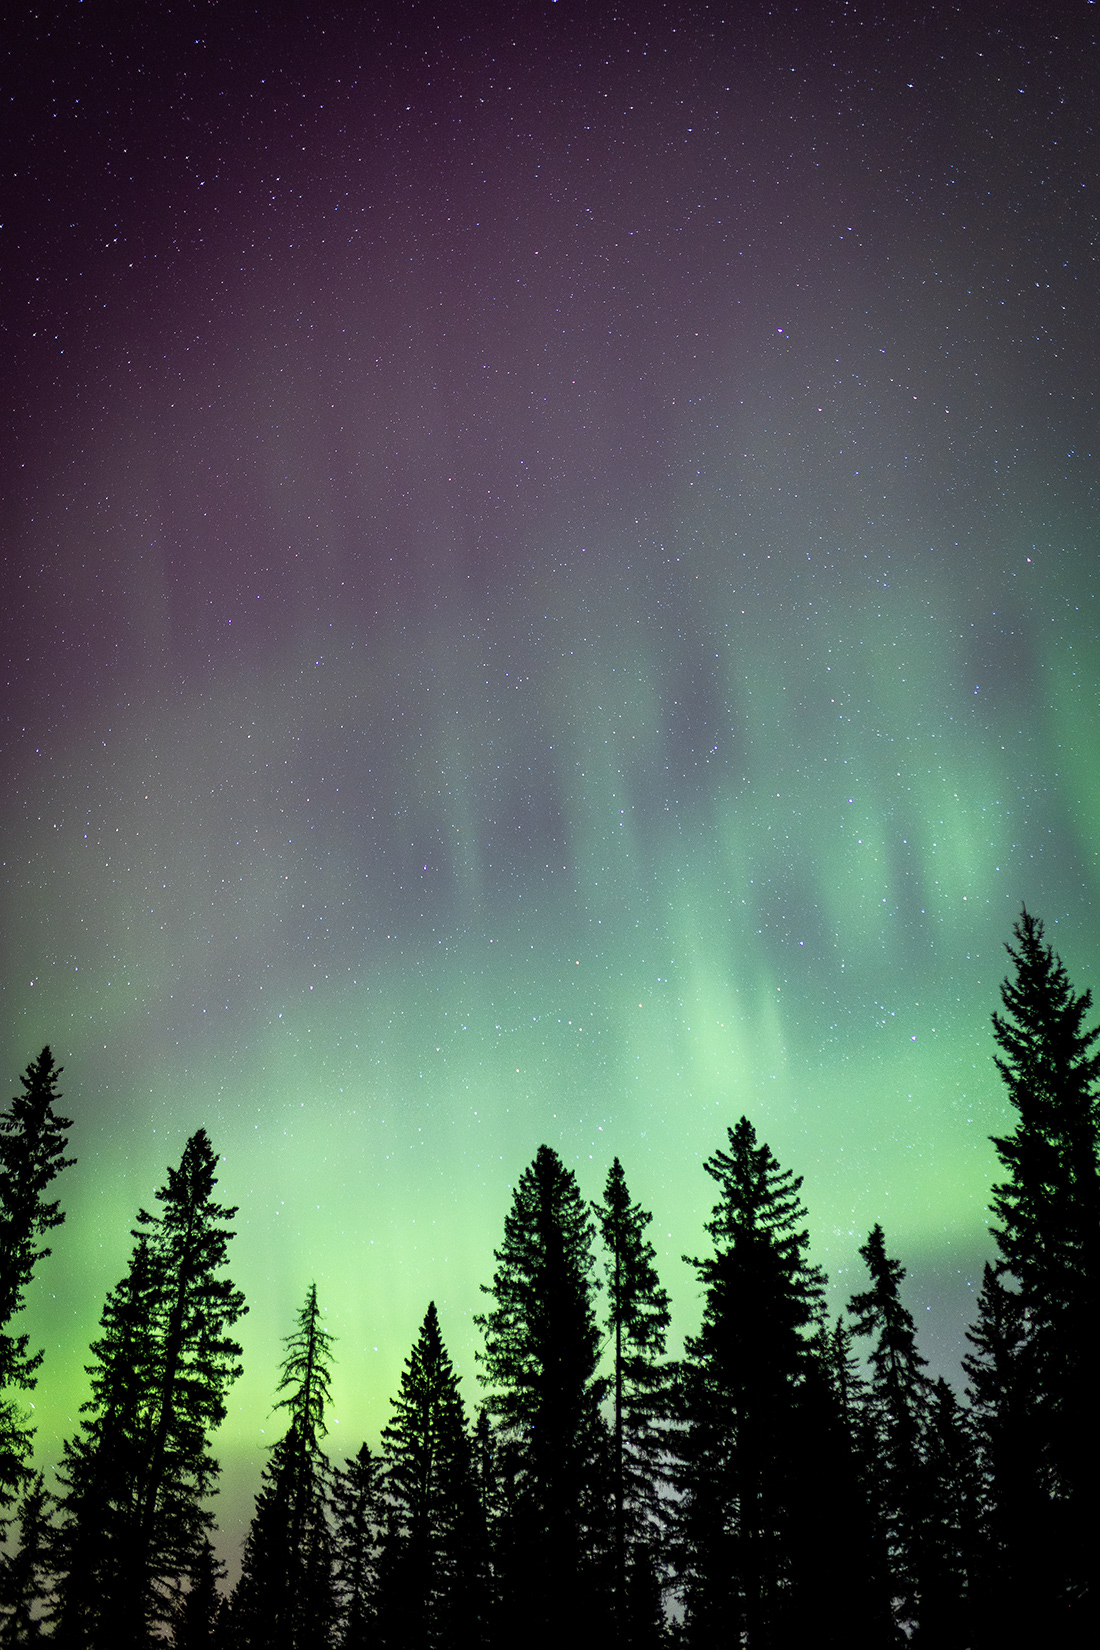
Water Valley, Alberta
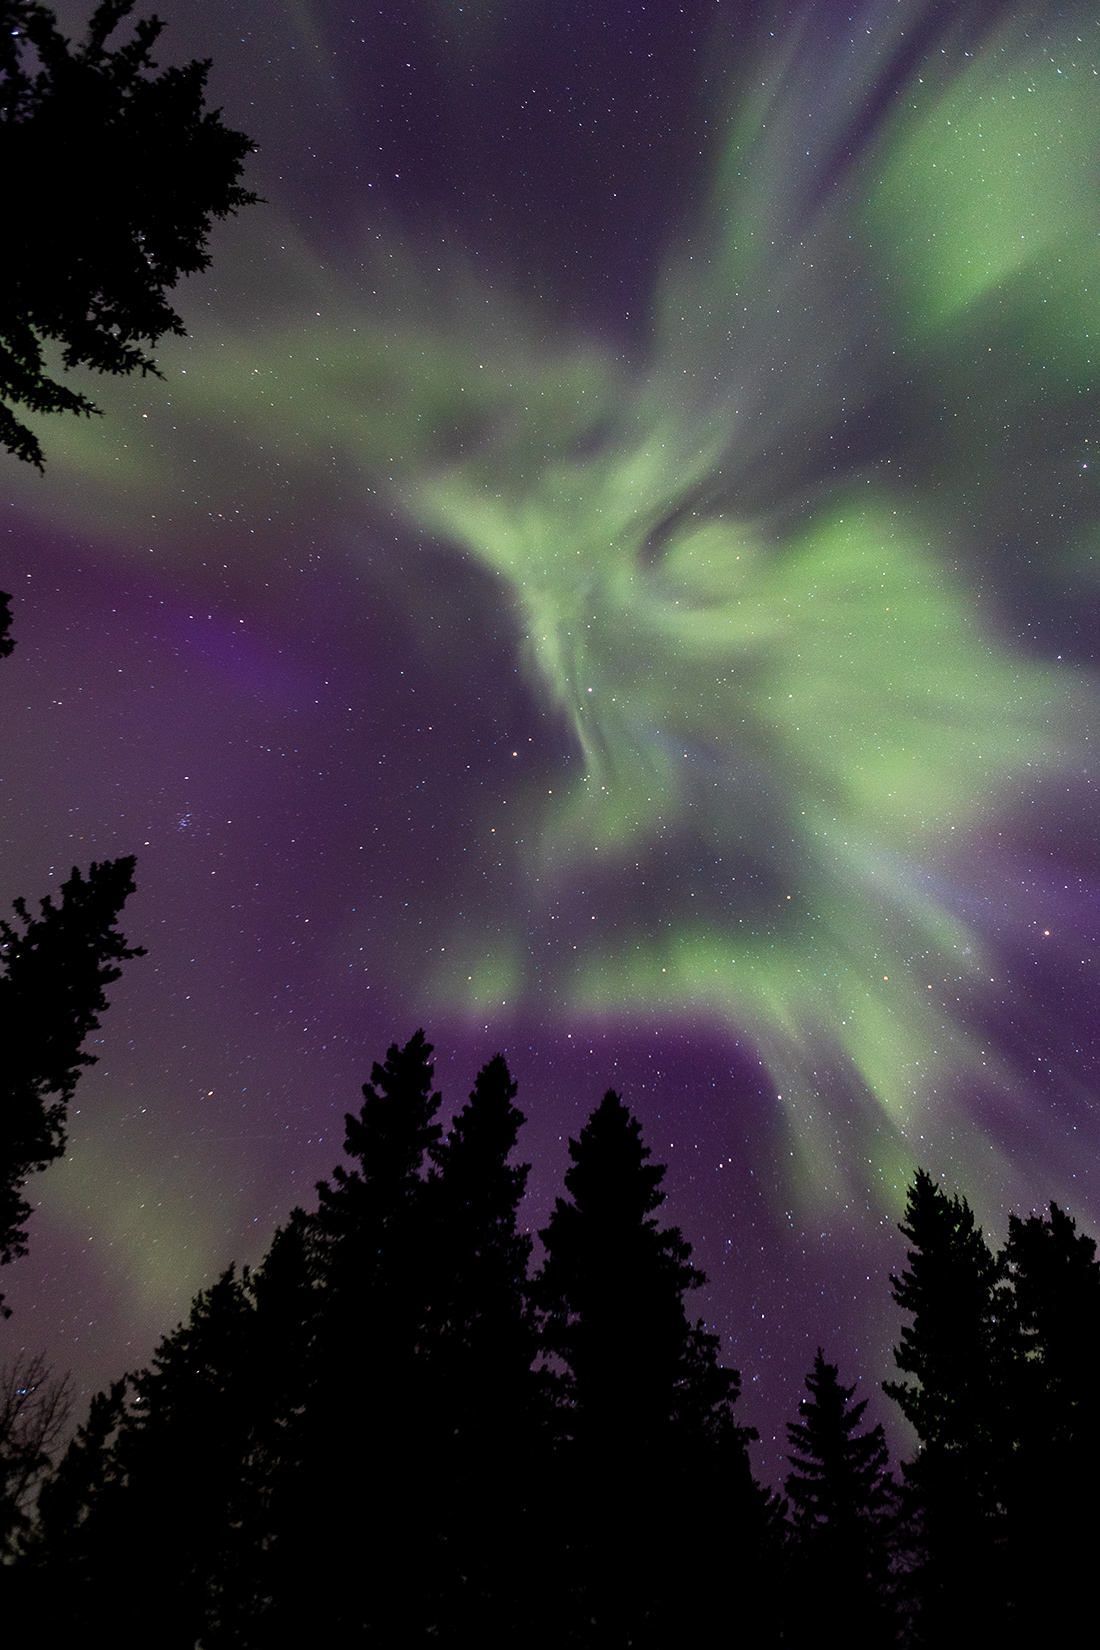
‘The Phoenix’ – Water Valley, Alberta